This year is going by so quickly.  Seems like just yesterday I was tooting my #selfishsewing2015 horn and today I’m buried in swap sewing.  Yes, that’s right, I signed up for too many swaps.

“Hi, I’m Jaime (Hi Jaime!!) and I’m a recovering swap addict”

After claiming 2015 as my selfish sewing year, I signed up for 11 (oh yes, ELEVEN) swaps.  WTF was I thinking?  Not sure, they all seemed like great ideas at the time but I can tell you that I was buried this month and (I’m sad to say) mailing 2 weeks late on one of them.  Buuuuuut with 6 done (and delivered!), 4 in various end stages (ready to bind, mid-quilting) and one last, glorious swap to start, I’m nearing the end and just loving the swaps I received in return:

2015 Swaps!

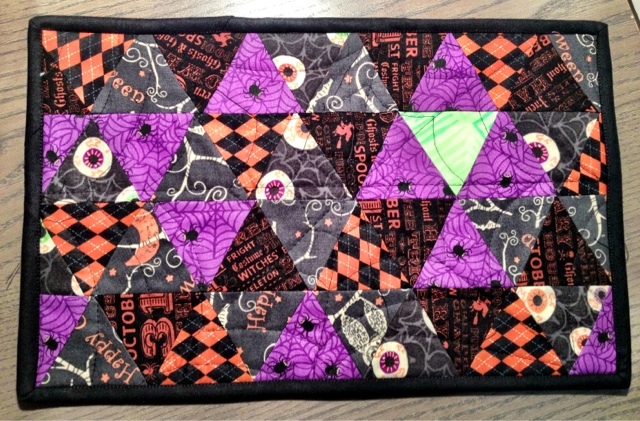
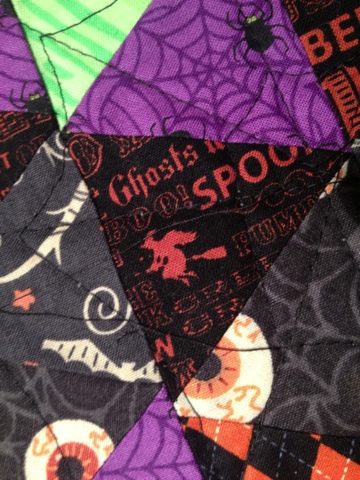
Bitches Get Stitches – LOVE Meets F#$% Mini

F#$% Off  received from @traceyquilts

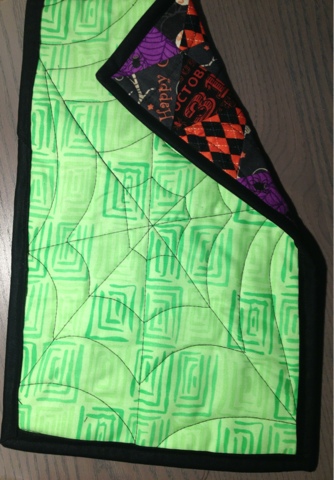
Sweet and Salty Easter

Alison Glass Pouch received from @saratyme26

https://instagram.com/p/086u-BpijT/?tagged=thecutechicks

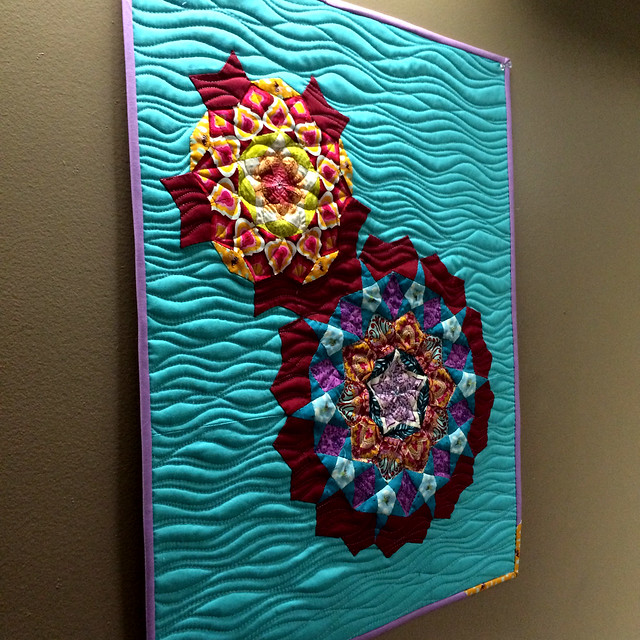
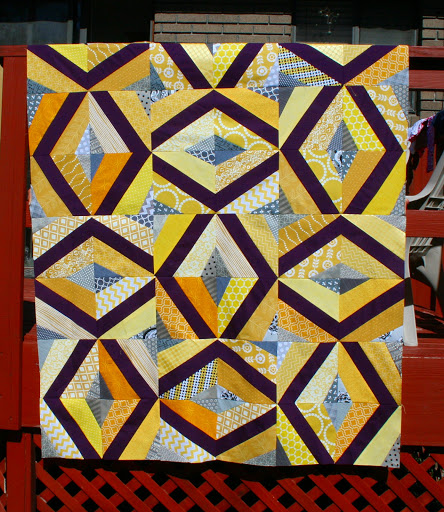
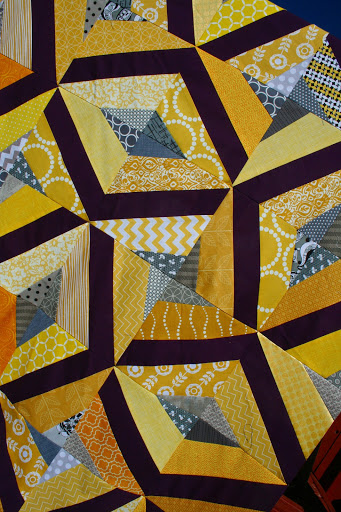
Tula Pink Mini Quilt – La Passacaglia Tula

Tula Hexies received from @pinspots

Rainbow Mini Quilt – Rainbow’d Preppy

Rainbow Mini received from @marymoondesigns

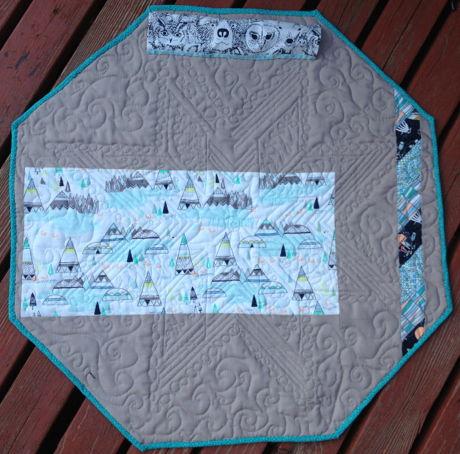
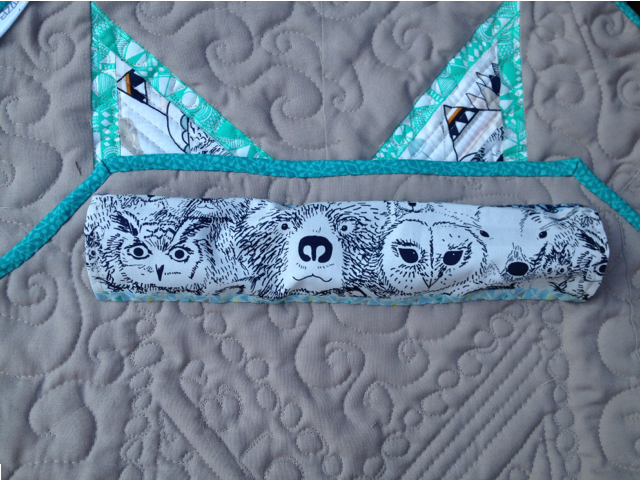
Sewtopia Chicago Swap – Tula PS Tessa Basket

Amazing Hand Stitching Box Received

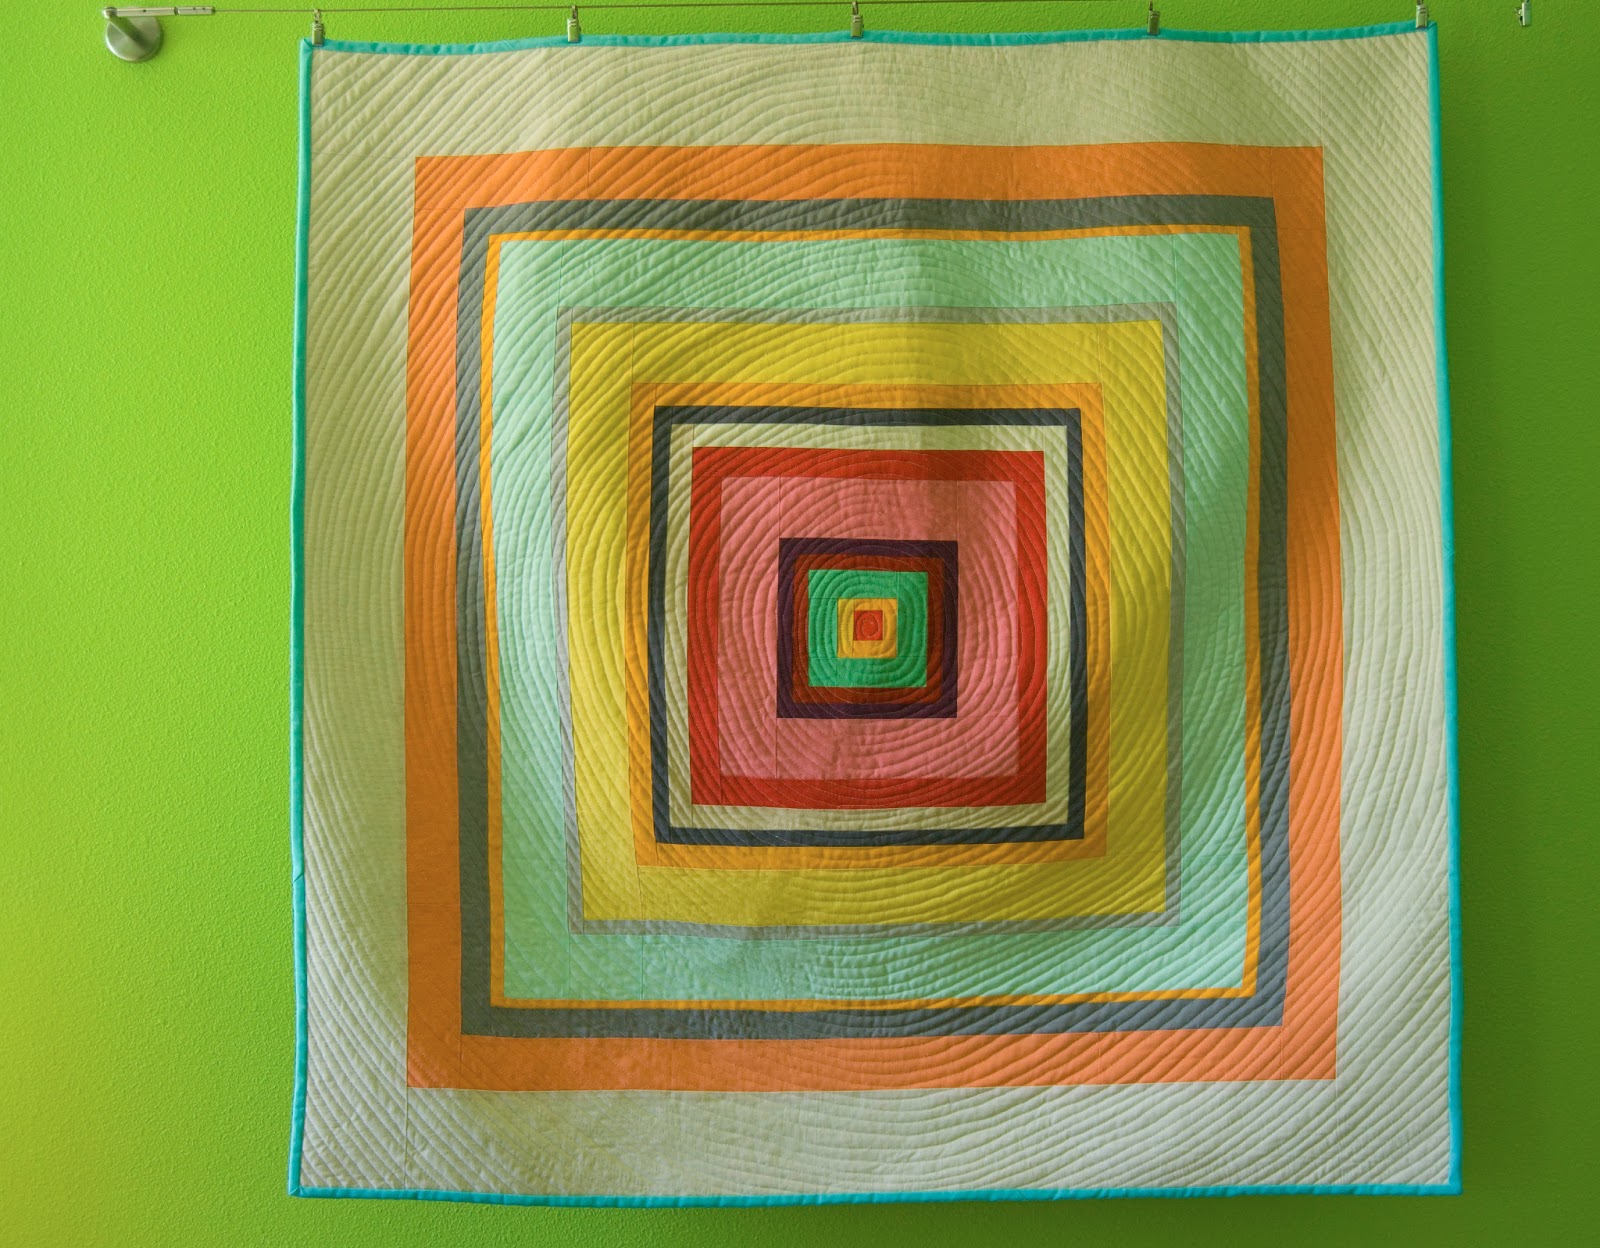
Spring Fling Mini Quilt

Alison Glass Feathers received from @sewtrudles

Nerds Craft it Better  – Shades of Beaker

Storm Trooper Mini received from @daral_the_girl

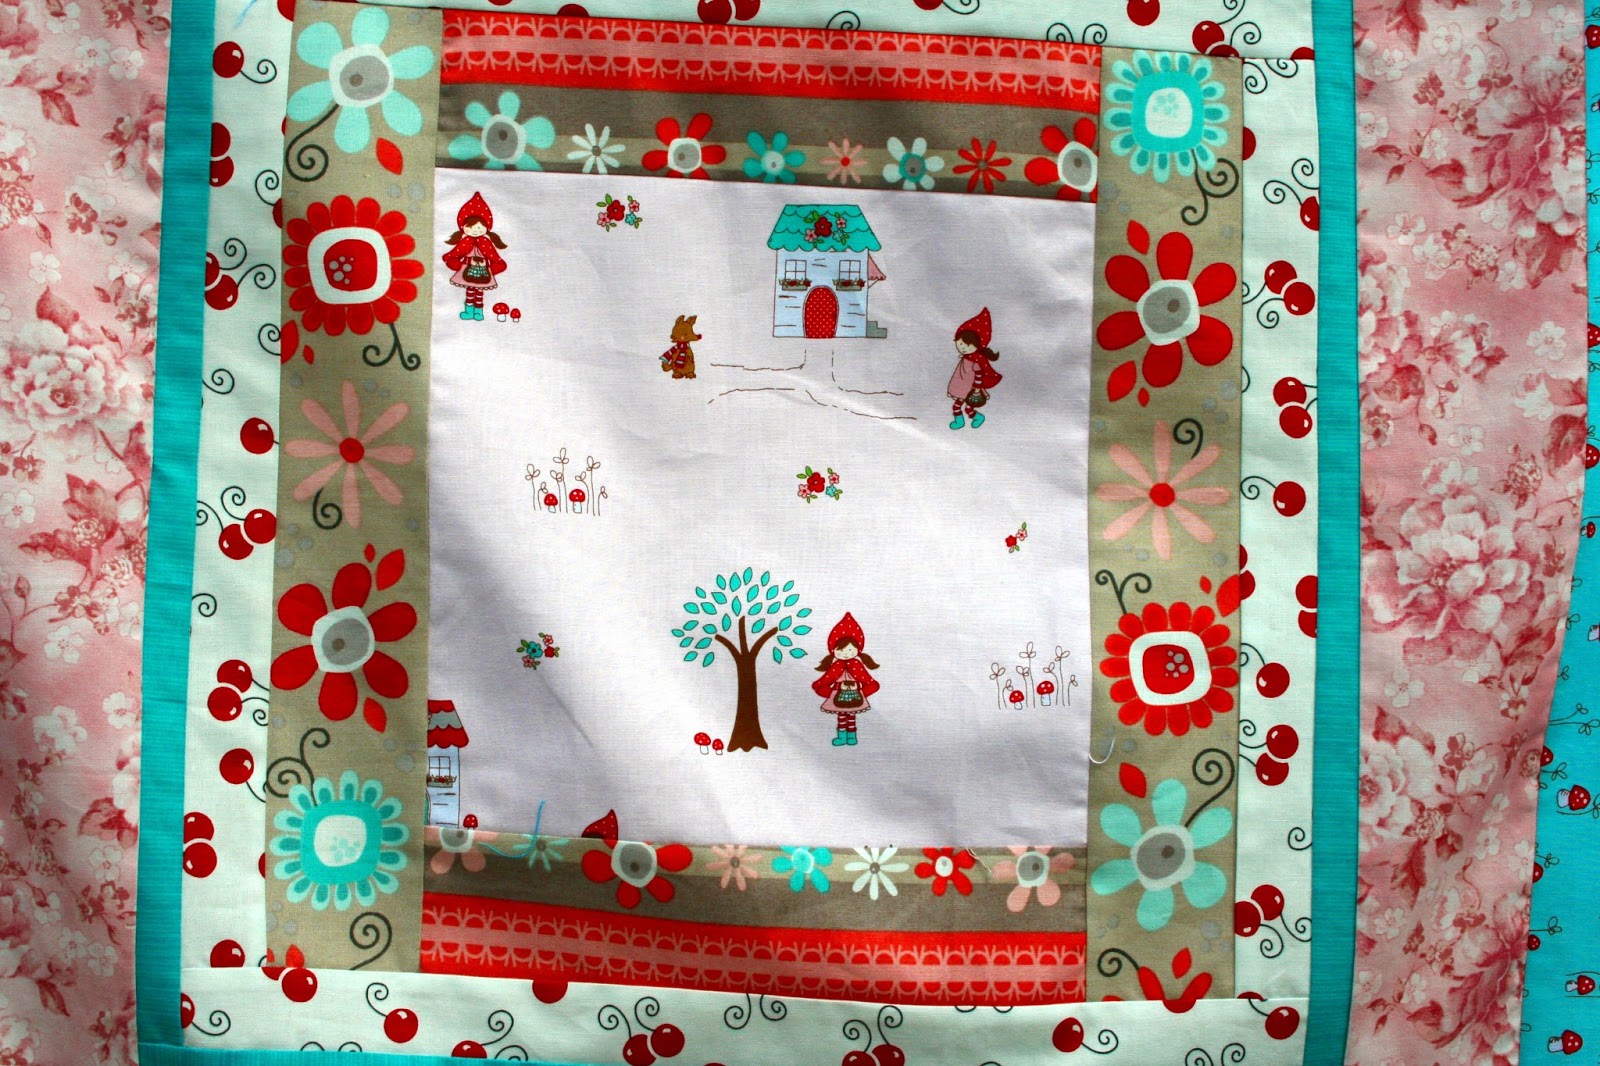
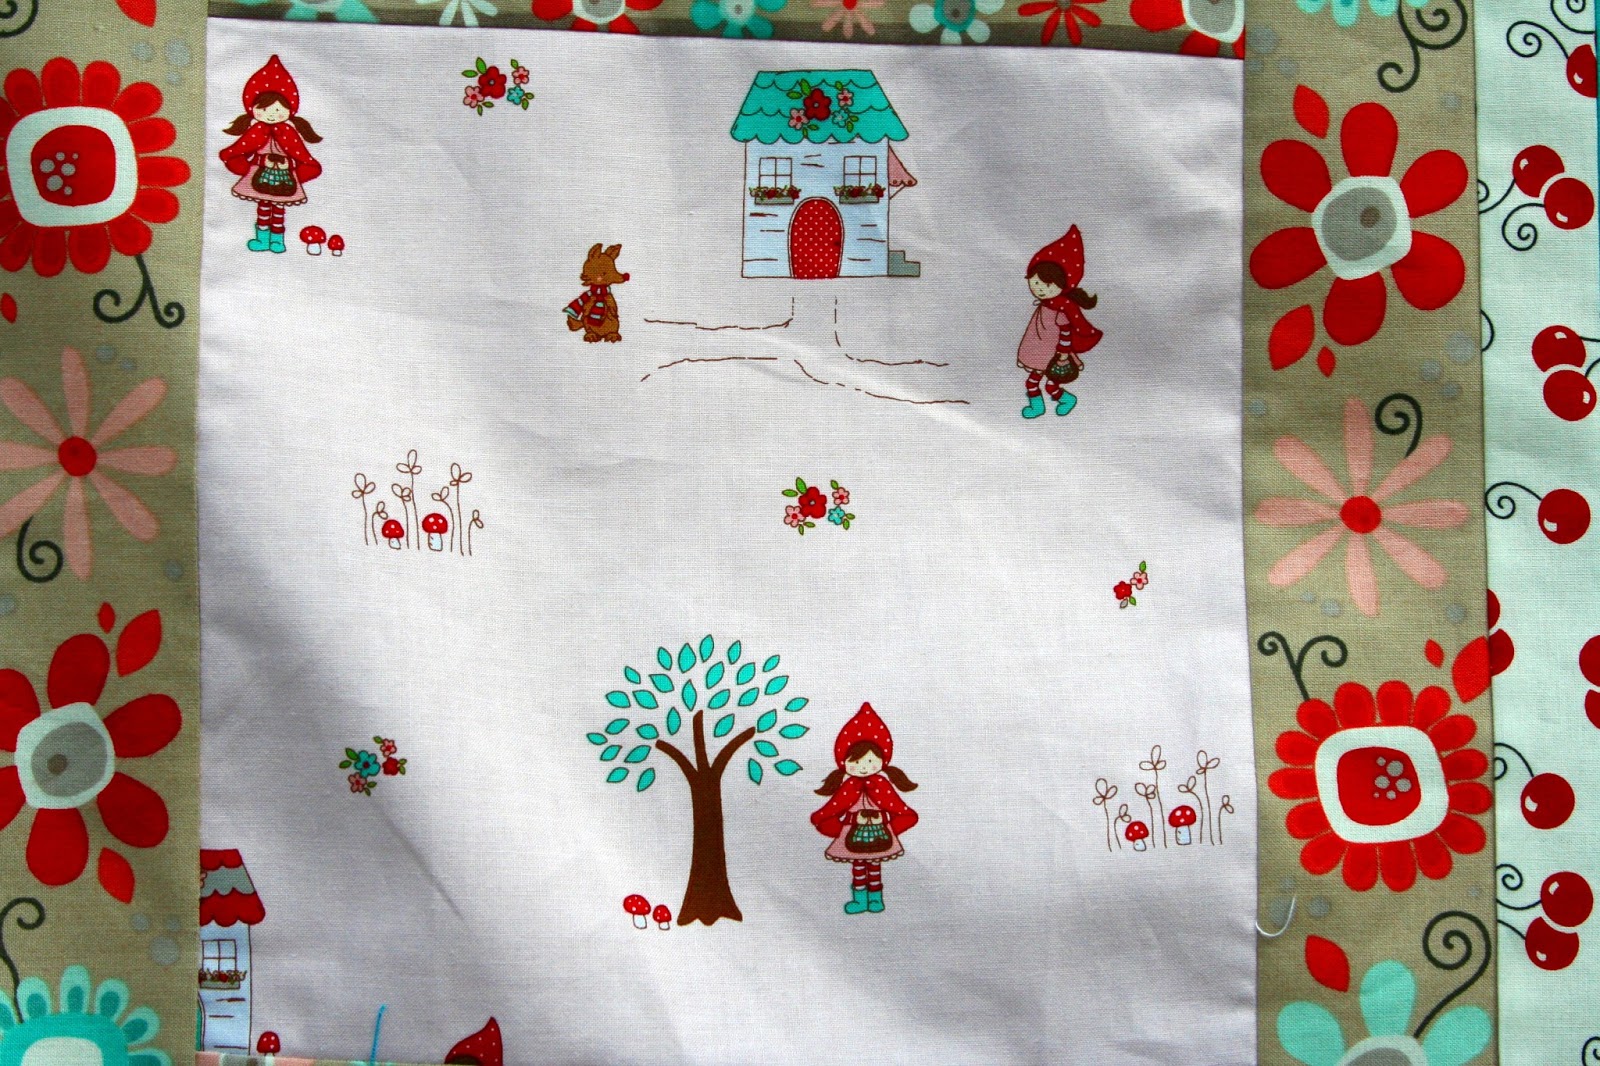
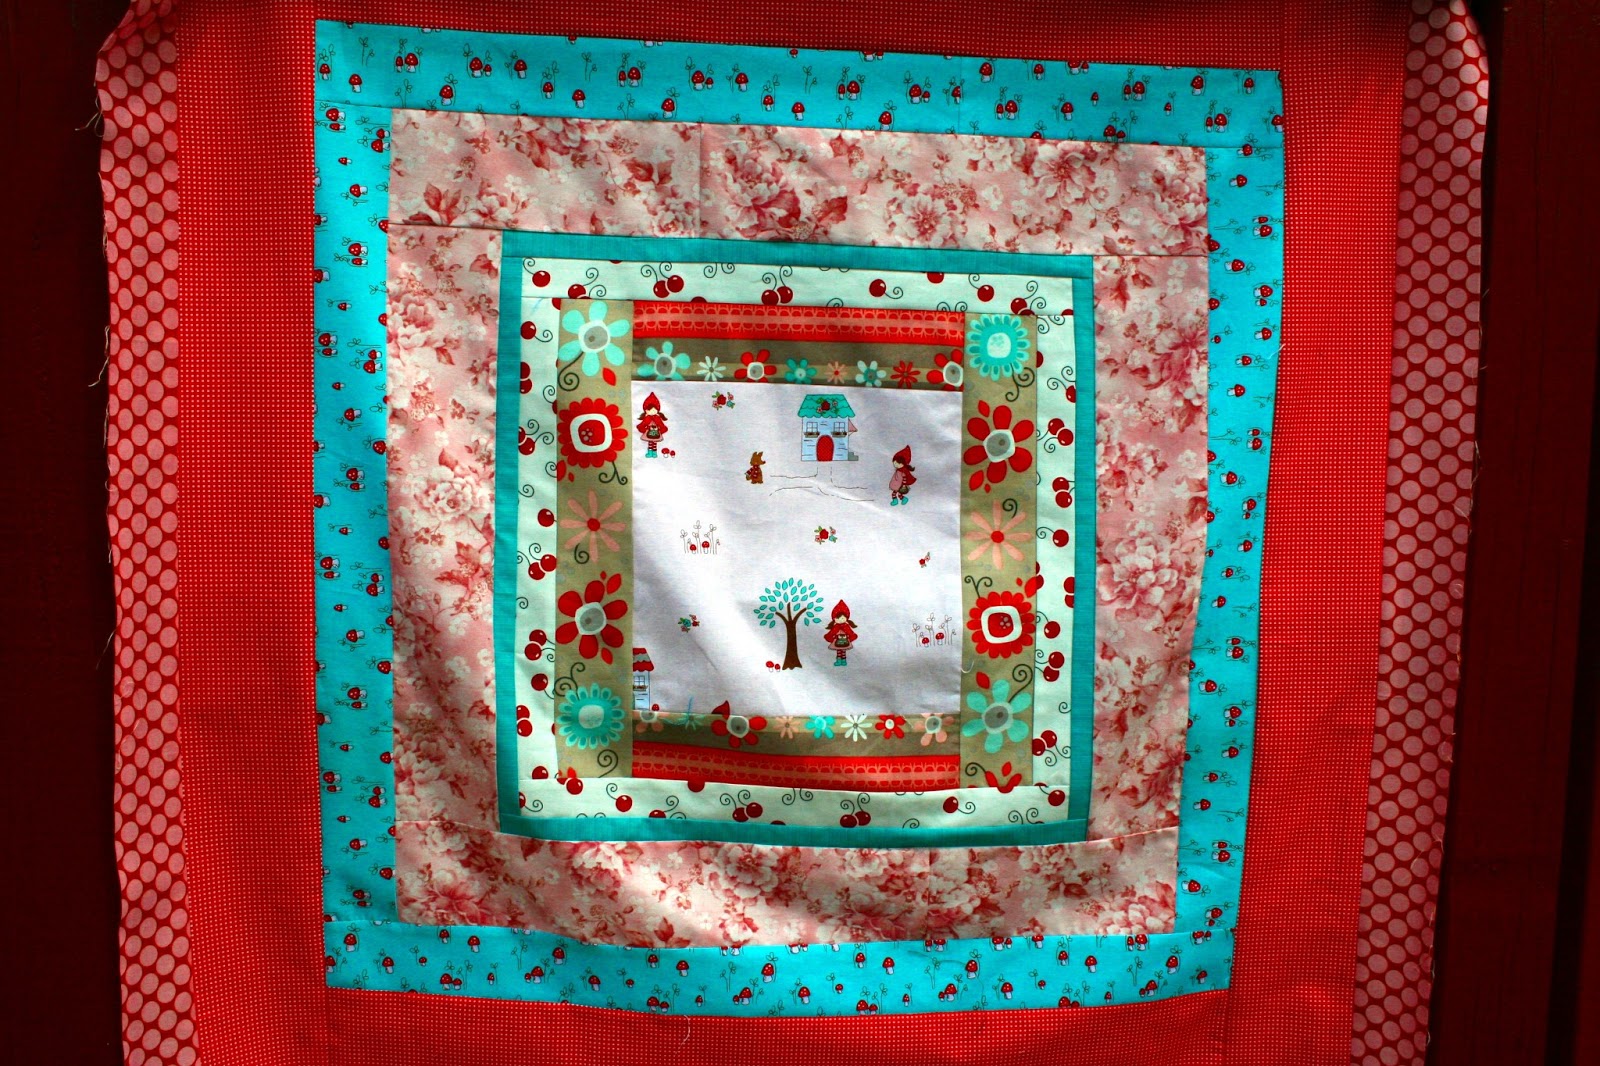
Sherlock Mini Quilt – ???? Mini

18427576769_54c685cd52_k

Surprisingly Okay received from @mischief_unmanaged

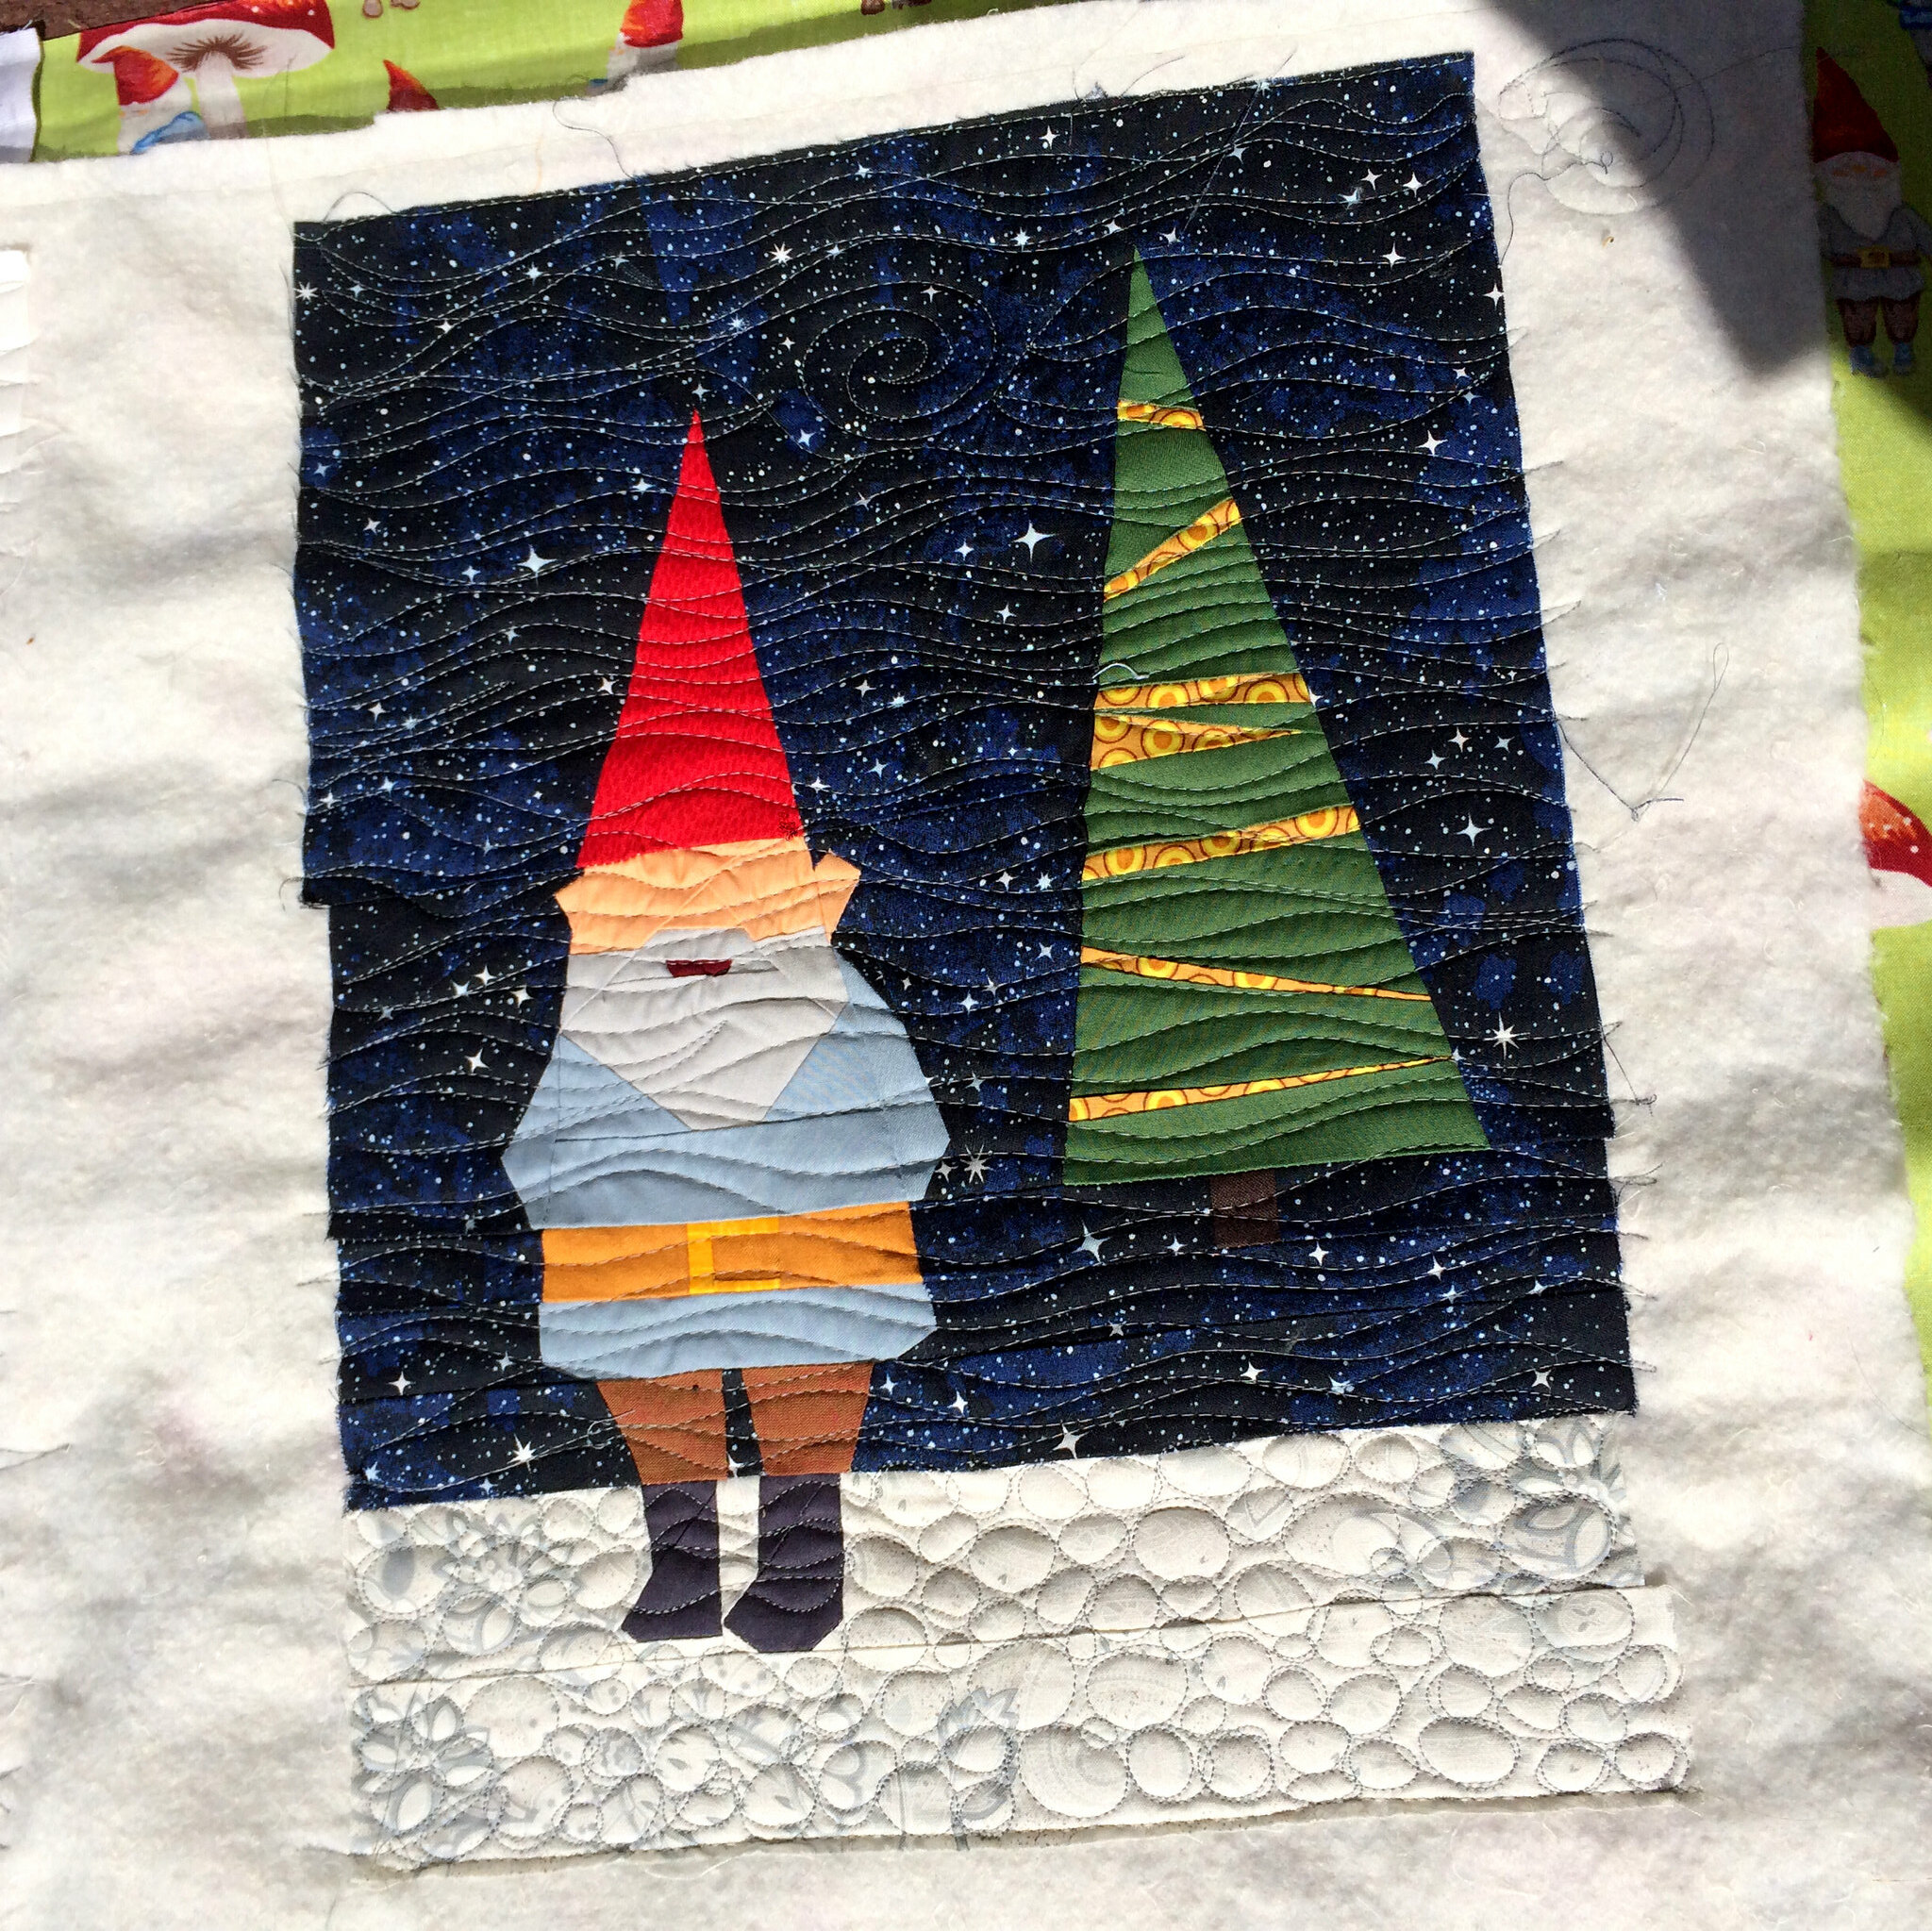
Gnome Swap – GNoel Mini

Untitled

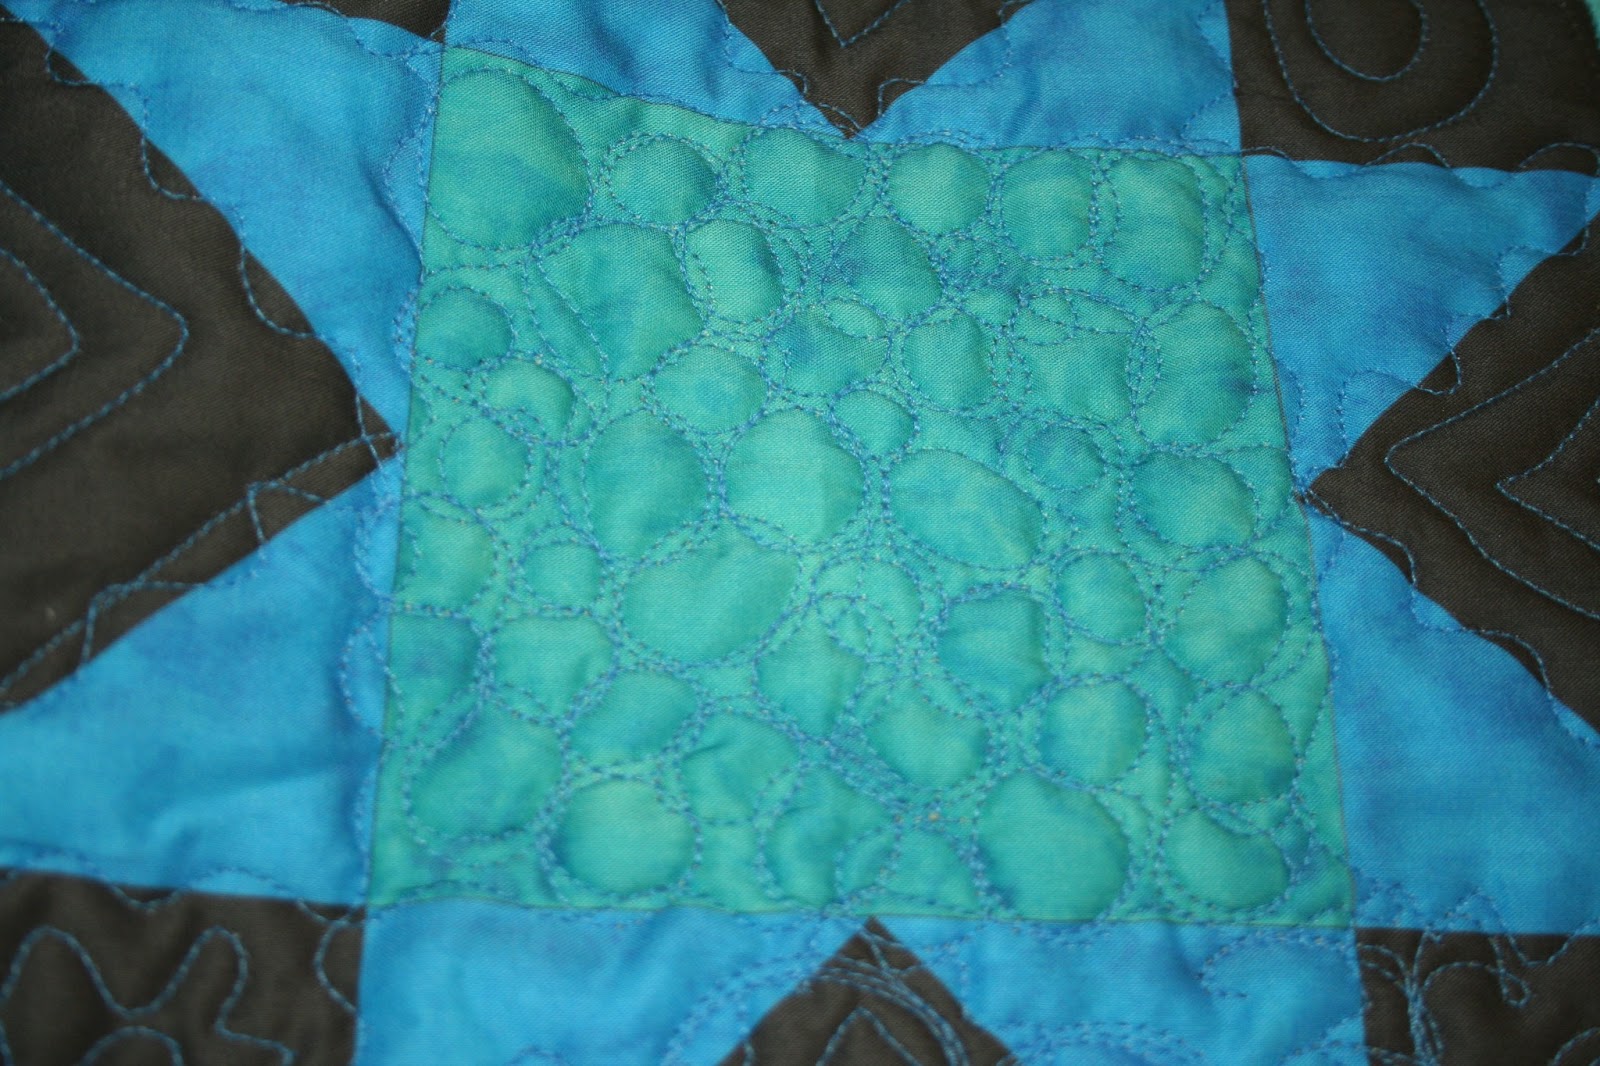
SLMQG Mini Swap – Periwinkle Mini

Alison Glass Mini Quilt – Glass Tissue Box

Whew!  That was a lot of sewing time for others!  I decided from here on out I’m going to Faux-ticipate in all the swaps that catch my eye.  Play along but make something for myself – saves on postage, right?  😉

The Indian Summer Lone Star wall quilt is DONE.  Finally.  I made this with a fat eighth of Indian Summer from Westwood Acres (LOVE that shop!).  I knew when I saw it that I had to make my BFF Ms. ChiefEagle something for her upcoming birthday.  I knew I wanted to make something that related to her Native American heritage but was modern and fresh.  I used the tutorial by Janice at Better Off Thread as inspiration, using the diamond method taught by the Craftsy course Diamond Quilt Designs.  More about the beginning of this quilt here.

I was planning on making a pillow for her couch.  Yeah, right up until the finished “top” was over 24″x24″.  There was a momentary pause at that point where I had to decided WTF I was going to do with it now.  Wall quilt came to mind and I went with it.  Frankly, I love how it turned out.  Quilting was done on my new Juki TL-2010q (more on that later 🙂 ).  I think it turned out well too (much better than the results I’d gotten on my Viking QDII) but YOU be the judge …

Front
Back complete with Quilt Sleeve (oooooooooh-aaaaaaaah)
Close up of the Quilt Sleeve & some of the quiliting


It’s true!  Especially after you’ve taken the Craftsy Diamond Quilt Designs class to learn all the practiced techniques.  These were easy peasy.  The most difficult part was deciding which fabric to use!  Ok, not really – I’m working on this for a friend, for her birthday, and I wanted a design that was traditional for her ethnic background.  Come to find out, that design was a star!  Shut the front door, I LOVE stars!  It was fun-tastic and convenient.  I probably shouldn’t post these pictures, it might ruin the surprise, but I can’t resist (resistance is futile…)  

I made this with a fat-eighth of Indian Summer fabric from Westwood Acres.  Check out their shop, they have an awesome selection and are super to work with.

See the triangle taped to my sewing machine?  Yep, tricksy insider idea from the Craftsy course.


The other day I was at The Joann’s, helping a friend pick out some children’s knit fabric (for an awesome charity event) when these sale, Halloween prints jumped into my cart! Imagine my dismay when I arrived home a realized I needed a new project in order to use them. What to do, what to do … Triangles!! It just so happens I have a girlfriend whose birthday I may have missed who LOVES Halloween. I decided to make her a mug mug for her work desk. It turned out to be sort of ginormous HA! But I think she’ll like it.

And the back, with a quilted spiderweb:

My Prism Along quilt top is COMPLETE!  Truth be told, it was finished last week but I was lazy and had multiple issues taking photos of it O_o.  But hey, that’s all in the past and it’s here now.  Woot!  I decided to go with the alternate layout because it was fun aaaaand I’d like to claim some sort of creativity for part of it…  After all, I bought the pattern and stole someone else’s color layout.  So, without further adieu, here it is.  Fractured Prism:


And then a couple in neon.  Just for fun.  (Love, love, LOVE neon!!)

The neon photos were created using Gimp software.


I have to admit I’ve loved the look of the Prism quilt pattern from the moment I laid eyes on it.  Love the modern look, the grays with the pops of color in the corners…  When Amy of 13 spools mentioned a quilt along, I knew I had to jump on board.  The only issue left was what fabric to use, what fabric to use?  Well Amy solved that one for me too when she posted all her color ideas for the pattern.  When I saw this, I knew I had to use all the horrendous yellow/gold/mustard fabric I’d just received from my Pink Castle 1/2 yard bundle subscription.  

From Amy @13 Spools  http://www.13spools.com/2013/06/the-design-process-prism.html


I have a secret to share, OK, not so secret any longer, you might have guessed by the “horrendous” descriptor that I kind of loathe the latest “modern” mustard colored fabric trend .  I mean, really?  Mustard?  UGH.  I must admit, however, that it looks beautiful with my grey diamonds and Bella Solid Prune centers.  But hey, YOU be the judge.


My ex husband’s niece is having a baby.  She isn’t sure what the gender of the baby is yet, but every time I think of her and the pregnancy I see a little girl. I started this quilt with that instinct in mind.  Inspired by this quilt by Malka Dubrawsky.  Looking back and comparing the two, it seems hers has more layers but I’m still enjoying my version.

I’m working on the quilting, with my Huskavarna Viking (Quilt Designer II), attempting the Roses pattern (some spirals, some olives and chained circles) from my LAQ lesson.  Let me tell you, FMQ-ing on my home machine is much more challenging than using a longarm.  It seems to require much more control over my fine motor skills.  Who knows?  After all this FMQ practice maybe my video gaming will improve.  Wouldn’t my boyfriend be pleased … 😉

So far tonight I’ve broken 6 new needles on the machine.  It’s been frustrating, but I think I’m working out the kinks.  HOWever, 5 replacement needles was all I had so the remainder of the quilting will have to be done after our holiday camping trip.  I was hoping to have it done and one side of the binding sewn on so I could hand stitch the rest while relaxing by the campfire but that was not to be.  See you next week Lil’ Red.  I know you’ll be waiting for me.

So I maaaay have played hookey from work at some point and then maaaay have taken a longarm quilting class at a local quilt shop.  I maaaay have LOVED every minute of it and maaay be obsessing (at this very moment perhaps) about how I can get my hands on a LAQ machine of my very own.

I quilted what I’m calling Faux Feathers (I couldn’t seem to get the shapes right on the “real” feathers) …

… something the pattern we were working off of called “Water” (though it looks more like spirals and scribbles) along with some stars, a heart and some curly cue meandering along the perimeter of the star block (this is the back of the quilt).

Then I did some pebbling and guess what?  I can!  This style is nearly impossible for me on my home machine but with the LAQ it was easy peasy.

Here is my pebbling from the back of the quilt.  I’m really quite in love with it. 
This pattern was called “Olives” and you can really see why.  After lots of practice on the dry eraser board and my pimentos came out almost perfectly.

And last but not least, here are my “Roses”.  Sort of a spiral beginning with some petals around them.  Kind of a fun design, right?


Now I’m just left with one question.  How do I justify (and afford) my own???